Step 1
Get 2Notch
Open the App Store on your Mac, search for 2Notch, and click Get. Downloading is free; the 14-day trial starts only when you choose to start it.
Step 2
Open it
Open 2Notch from Launchpad or your Applications folder. It is a menu bar app, so it has no window of its own and no Dock icon once it is running. The first time, a short setup window appears.
Step 3
Set it up
Eight short screens. Every choice here can be changed later in Settings, and Skip jumps straight to the end.
-
Welcome
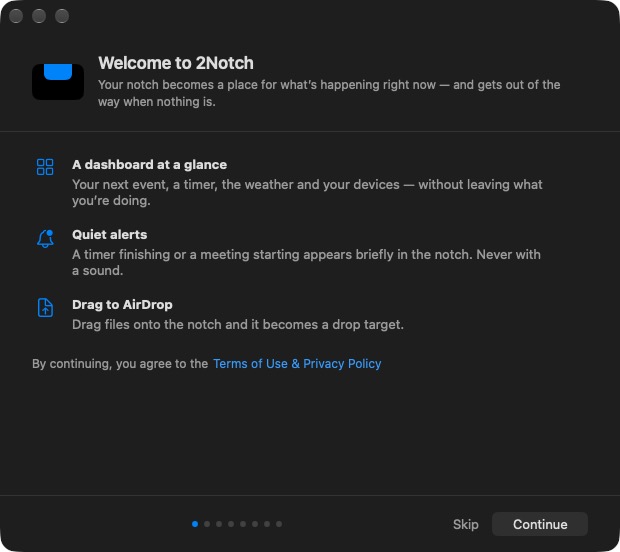
What 2Notch does. The link at the bottom opens the Terms of Use & Privacy Policy; continuing past this screen means you agree to them.
-
Opening the notch
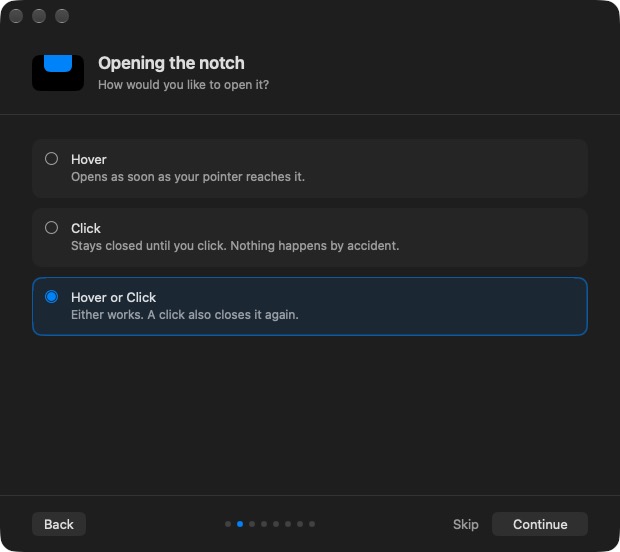
Choose how the notch opens: when your pointer reaches it, only when you click it, or either.
-
Make it yours
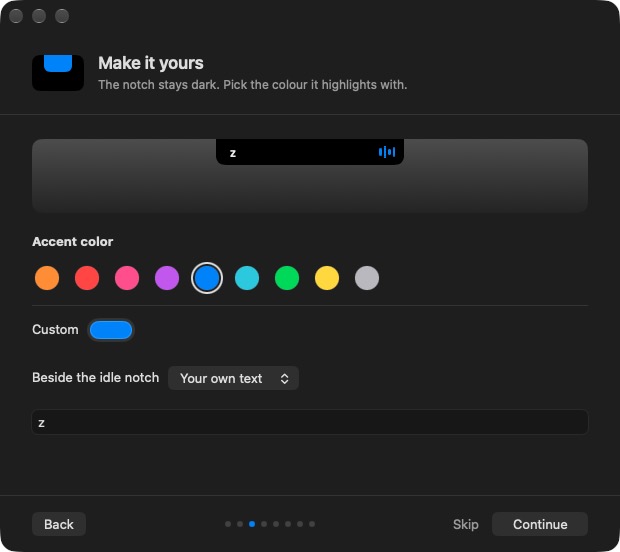
Pick the colour the notch highlights with, and what sits beside it when nothing is happening: nothing, the 2Notch mark, or a few characters of your own.
-
Choose your widgets
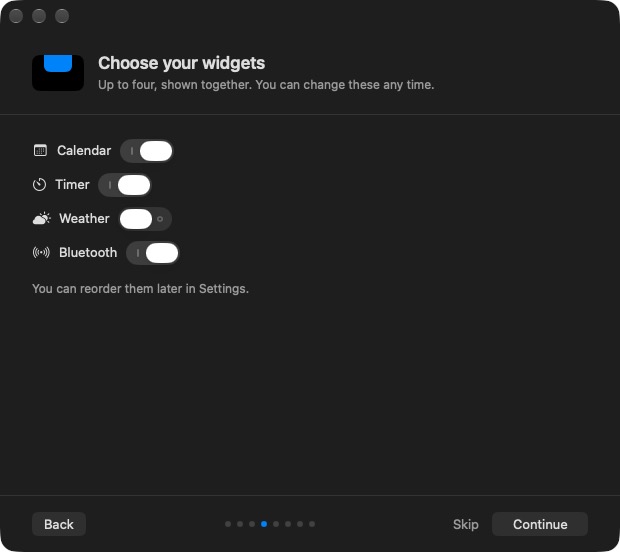
Pick up to four sections for the open notch from Calendar, Timer, Now Playing, Bluetooth batteries and Weather. New installs start with the first four; switch one off to make room for another.
-
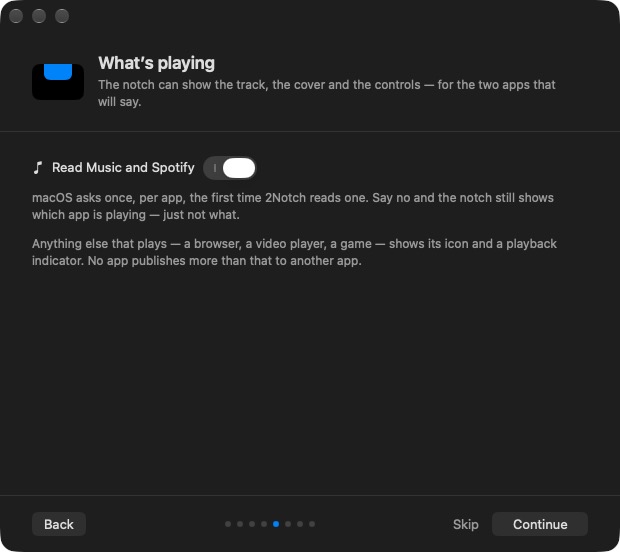
What's playing
Turn this on to see the song, cover and controls for Music and Spotify. macOS asks you once for each app the first time.
-
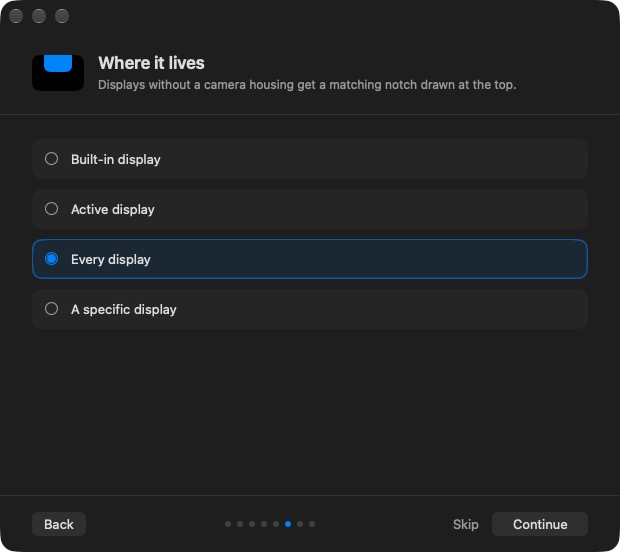
Where it lives
Show 2Notch on the built-in display, on whichever display you are using, on every display, or on one you pick.
-
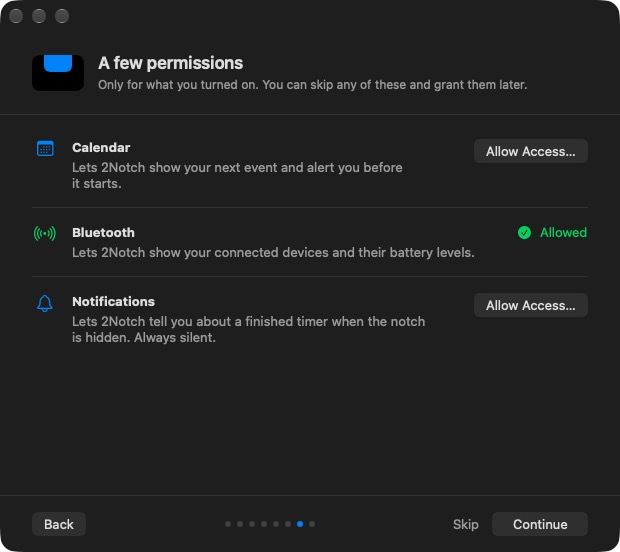
A few permissions
Only for the sections you turned on. Click Allow Access… and answer the macOS prompt, or skip and allow it later from the section itself.
-
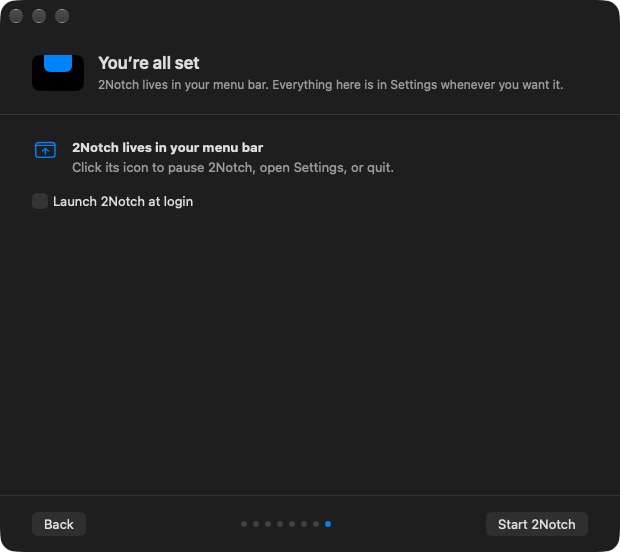
You're all set
Tick Launch 2Notch at login if you want it every time you start your Mac, then click Start 2Notch.
Step 4
Start your free trial
A window offers the 14-day free trial. It tells you how long the trial lasts, what locks when it ends, and the one-time price. Click Start 14-Day Free Trial; nothing is charged. If you already know you want 2Notch, unlock it there instead. Bought it before? Use Restore Purchase.
Step 5
Use the notch
- Move your pointer to the notch at the top of the screen, or click it, to open it.
- Click a section to make it fill the notch: today and tomorrow in the calendar, the full timer with its settings, the full music player, or every connected device. Click again to go back.
- While Music or Spotify plays, the notch opens straight to the player. When the music is paused, the Now Playing section is the way back to it.
- Drag a file onto the notch to send it with AirDrop.
- The 2Notch icon in the menu bar pauses the notch, opens Settings, or quits.
Hid the menu bar icon? Open 2Notch again from Applications and Settings appear.